Lacy Beret
I decided to attempt the hat labelled 'lacy beret'. I'm not one to follow fashion, but this kind of hat seems to be 'in' at the moment, and - more importantly - I rather liked it. The pattern looked complicated, but is only one piece. I felt more confident than I did a year ago, after trying so many different items, so I found some grey yarn - to match, roughly, a grey scarf I have already - and got started.
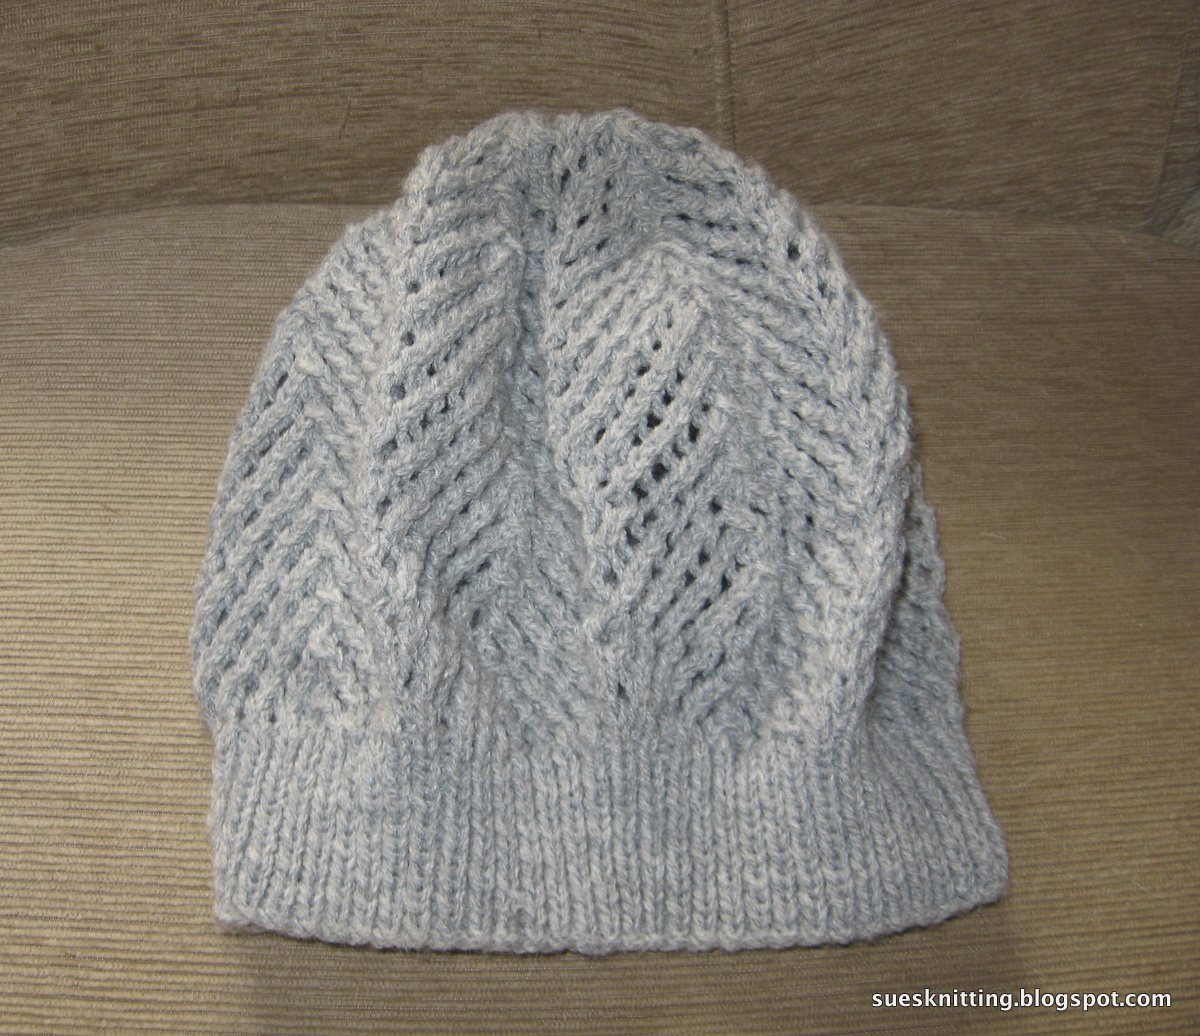
Here's the top view of the finished hat:

The first part is deceptively easy. 3mm needles and fifteen rows of simple rib. Then a switch to 4mm needles, and the lacy pattern part. I had to learn a new acronym: 'tbl' means 'through back of loops'. I didn't just have to knit through the back of loops, but knit two together 'tbl', after moving the yarn forward to create an extra stitch. This, combined with knitting two together (in regular fashion) was what created the lacy effect 'holes'.
There were 141 stitches when I started the lacy pattern section, which is the bulk of the hat, and I quickly realised that the 'pattern' instructions were for 20 stitches, meaning that they were repeated seven times, plus an extra stitch at the end. Alternative rows are straight purl. And while I usually enjoy 'knit' rows more than 'purl', I found myself looking forward to the purl rows as I didn't have to concentrate or count what I was doing.
I did just four rows per day over the course of a week; each knit row, with its complex instructions, took me about ten minutes. Knitting through the back of the loops was often rather painful on my finger; I had to remember to purl as loosely as I could, but it was still, sometimes, very difficult to make it work.
I also decided I would count each row of purl, to ensure I hadn't gained or lost a stitch. It would be very easy, for instance, to miss one of the 'yarn forward' instructions, or indeed to do an extra one, as the first and third rows were not the same. And, sure enough, at least twice I found that I had only 140 stitches.
I then had to try and work out where I'd gone wrong, and put in an extra one on my next row... and that wasn't easy. In fact, the first time I got in such a muddle that I gained an extra stitch and then had to work it into the pattern on my next row. It's a good thing that I'm not a total perfectionist. I decided that if the pattern went a little awry, it probably wouldn't matter. There was only one time that I actually back-tracked and undid about half a row. I knew instinctively that it would be very difficult, and that I would probably end up losing stitches entirely if I did that.
I'm relieved that it did turn out reasonably well - looking at the top of the hat, as in the photo above, it's not immediately obvious where the pattern is askew. By the time it's on my head I'm pretty sure it won't be noticed at all.
The last twenty or so rows were a little more complicated still, changing each time as the number of stitches decreased to make the top of the hat. I completed all that in just one morning, and then it took less than five minutes to sew it all together.
This is what it looks like when laid flat:
And my problem now is that I don't know how to wear it. The first photo shows it as a beret, but the ribbed section is quite deep. If I pull it on my head, it looks like a beanie-style hat. If I fold the rib under and push it up, it looks a little like a beret, but rather floppy.
I remember, now, that when I was a teenager, in the junior red cross, I had trouble wearing a beret. It never looked quite right. So after all that effort, I may find myself just pulling it down over my ears to keep warm in the colder months.
I'm glad I tried out this lacy style - and it's relatively simple, compared to some other patterns I've seen - but think I'll stick to soft toys and more straightforward patterns in future!


Comments
Post a Comment